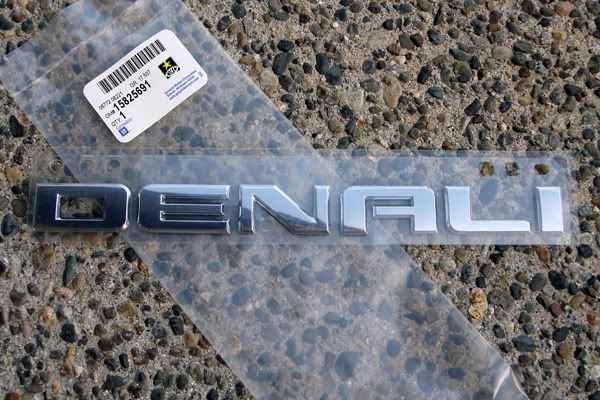
2007 GMC Yukon XL Denali - 11500 km: DENALI badge added
 There are quite a few extras that that differentiate a "Denali" from a regular GMC Yukon. One of the most obvious from the outside (in case you miss the over-sized chrome grille and 20" chrome wheels) is the "DENALI" badge on the driver's and passenger's doors. However, from the rear, there is no way of telling if you are following a Denali with a 6.2 L - 380 HP engine or regular Yukon with only 5.3 L and 310 HP. After seeing a lot of other Denali owners customize the looks of their trucks, I decided to do the same thing and put a Denali badge on the back hatch, too. I've debadged many a vehicle in my time and am past that phase of my modding career so simply swapping one for another was a good compromise. After checking prices on Ebay (and seeing excessive shipping costs), I ordered the badge from a local GM dealer on Thursday and picked it up the next day. I wanted to take advantage of the warm weather while it was still here, so I put it on yesterday before dinner.
See below for pictures of the finished work.


Did you use anything to get rid of sticky residue after debadging?
ReplyDeleteThere was a lot of tape left on the vehicle after I used the fishing line to cut through it. That's when I used a hair drier and a rubber scraper to help get the rest of the tape off. Once that was removed, I used Goo Gone and elbow grease to get the rest of the residue off. It was a lot more work than the other vehicles I've debadged.
ReplyDeleteOnce it was all the residue was off, I used Meguiars' 3-step wax (paint cleaner, polish, and wax) to make sure the area was nice and clean. To prepare the area for the new badge, I used Goo Gone and rubbing alcohol specifically on the area where the badge was placed. After letting the new badge set, I then re-waxed around it again. Whew, job done!